Here is a fun Halloween or Dress Up project for ya! :)
The crowns that you find in the stores are so tacky and overpriced!
This crown is a super simple and cheap project,
and it is much cuter than the plastic or foam ones you find in the store!
Materials:
Two 22"x4" pieces of wool felt
Fabric Scissors
Embroidery Floss & Needle
Small Beads, Small Needle, & Thread
Sewing Machine/ Thread
Instructions:
(This crown fits a preschool age child;
adjust the measurements of the crown to fit your child how you like it to fit)
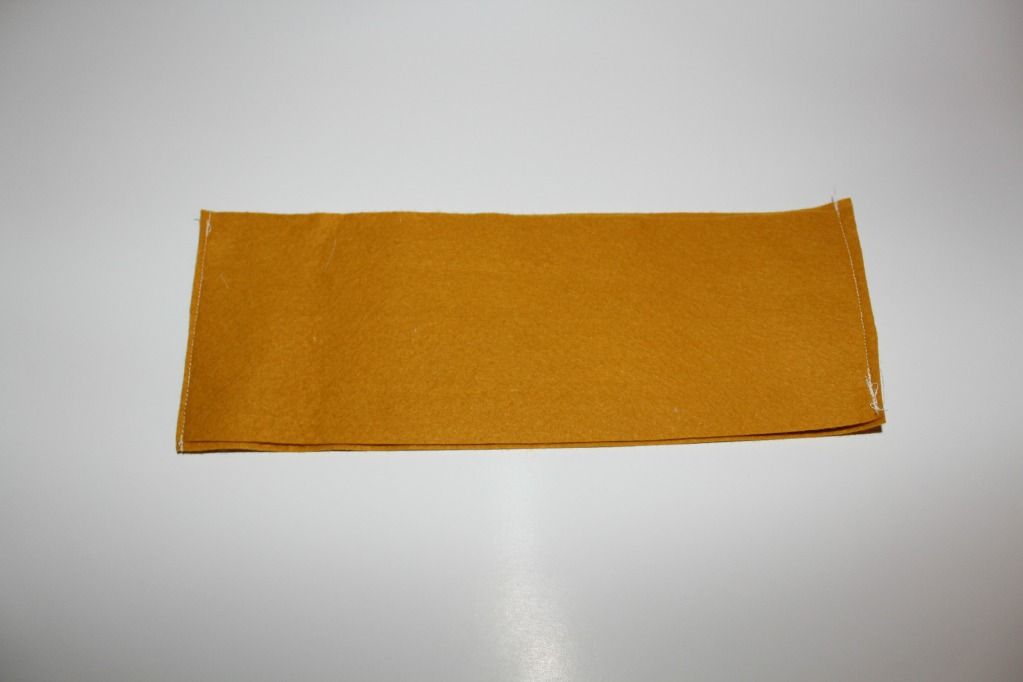
Sew the short ends of the felt together. I had two 11" pieces,
so I sewed both ends together to make a crown size.
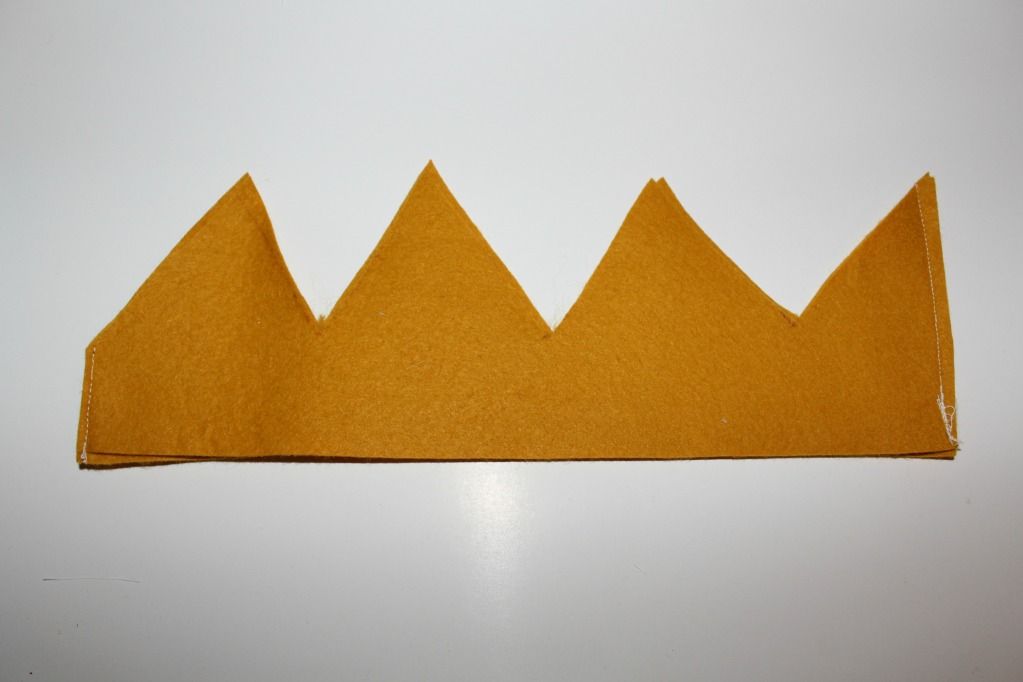
Draw crown points into your felt like this:
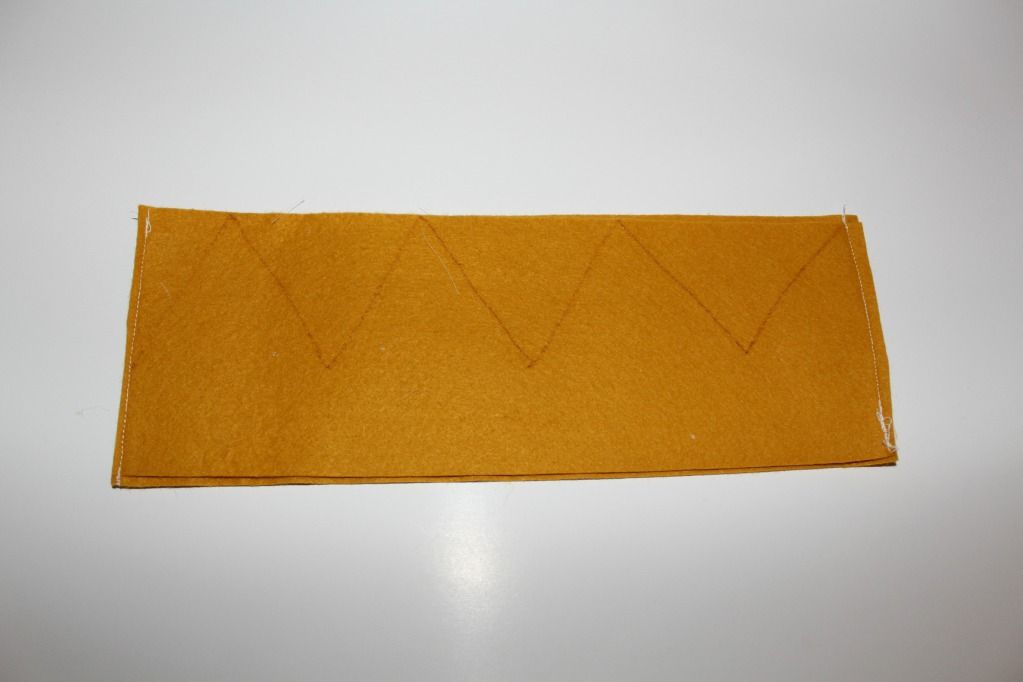
Cut along the lines...
Repeat steps to make another crown slightly larger to use as a lining.
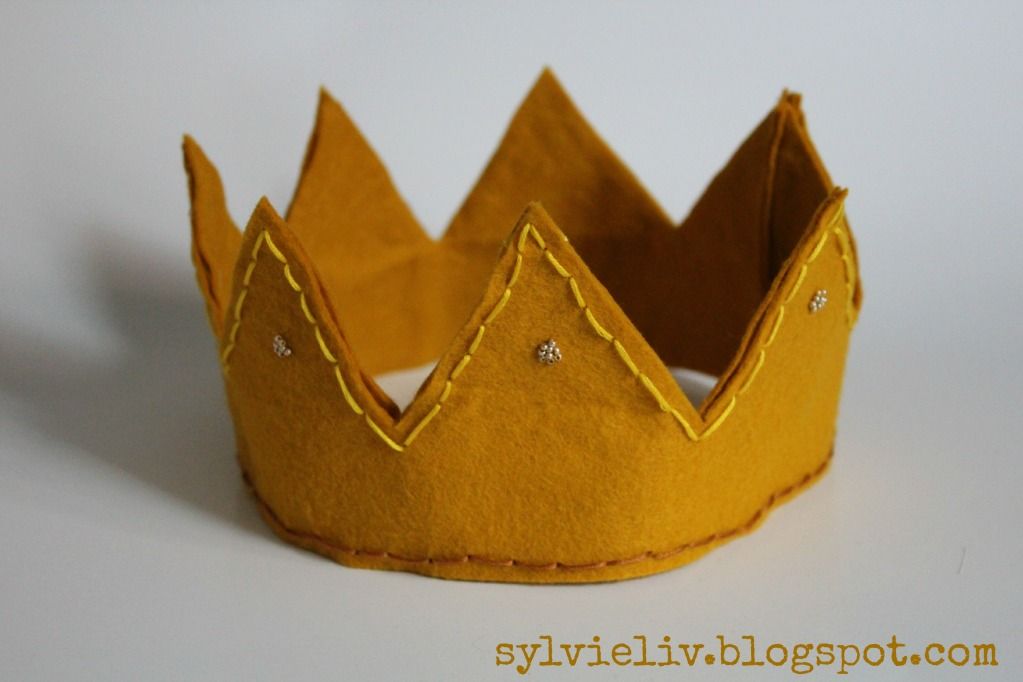
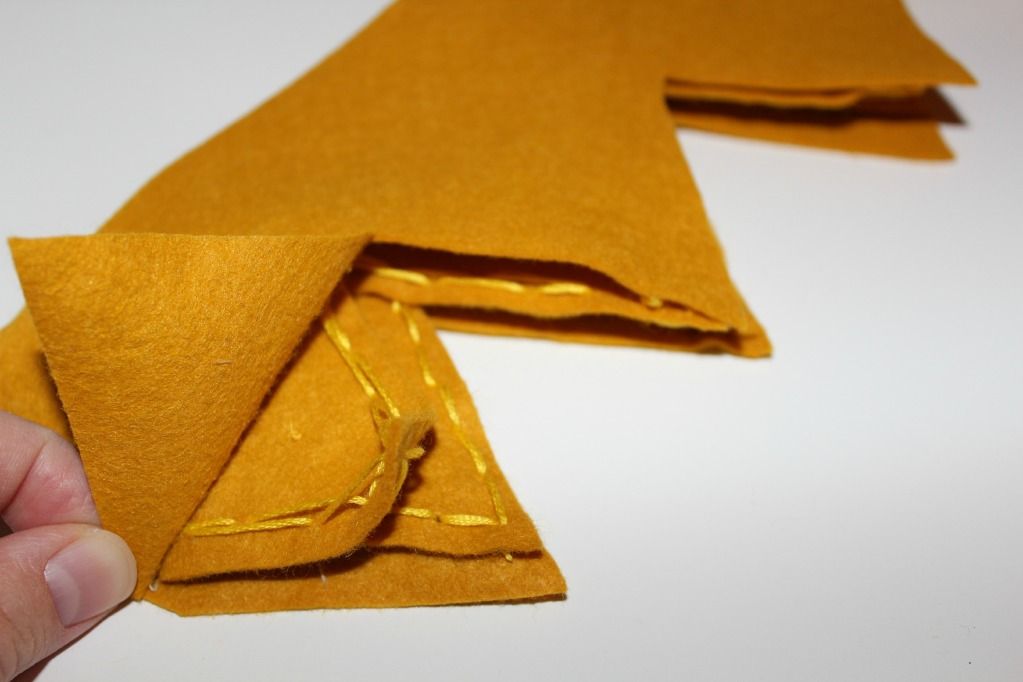
Now turn your crown right side out, and start stitching and beading!
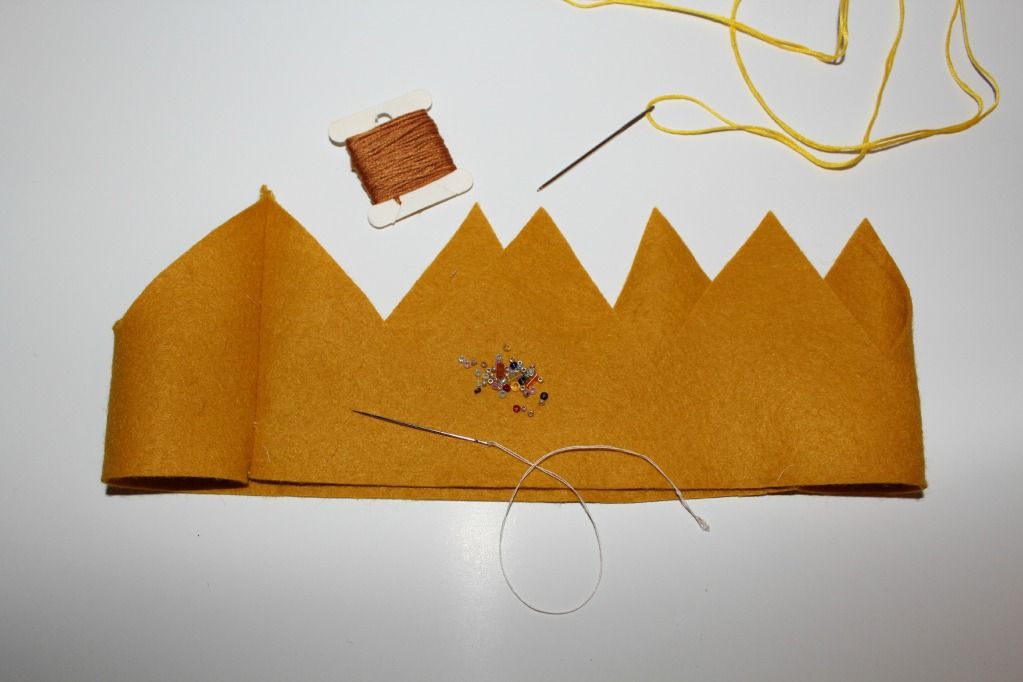
I stitched around all the edges using the same stitch I explained here.
(Anyone know what this stitch is called?)
You can add beads wherever you want to add more detail.
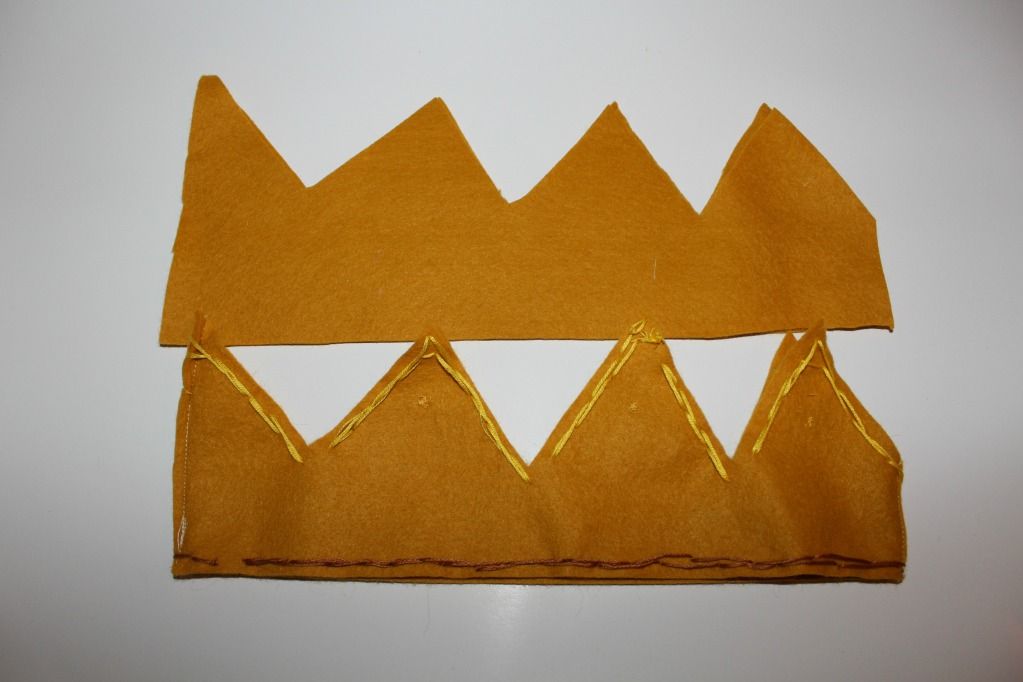
Next turn your crown right side in, and layer your second crown around it.
Glue in between the layers, gluing the backside of the stitches to the second layer.
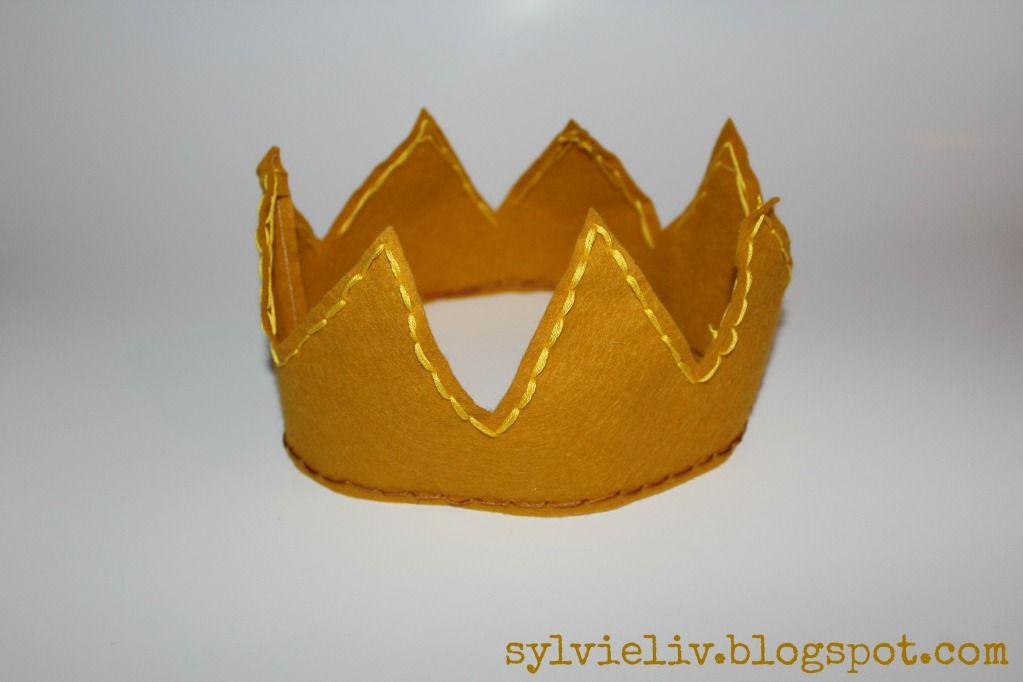
Turn the crown right side out, trim the seams to match, and you are done!
The little boy who got to claim this crown
is quite pleased with it and has been wearing it all around! :)
I will be posting a tutorial to make a prince cape soon!
Have fun!
-Sylvie
So cute! I'm about to make some for my nephews. That stitch is called running stitch :)
ReplyDelete